When you’re just getting started, chord diagrams can be confusing. Let’s break down how they work, and how you can use them to start learning chords on your guitar.
Here is a diagram you’ve probably seen of a C major chord:
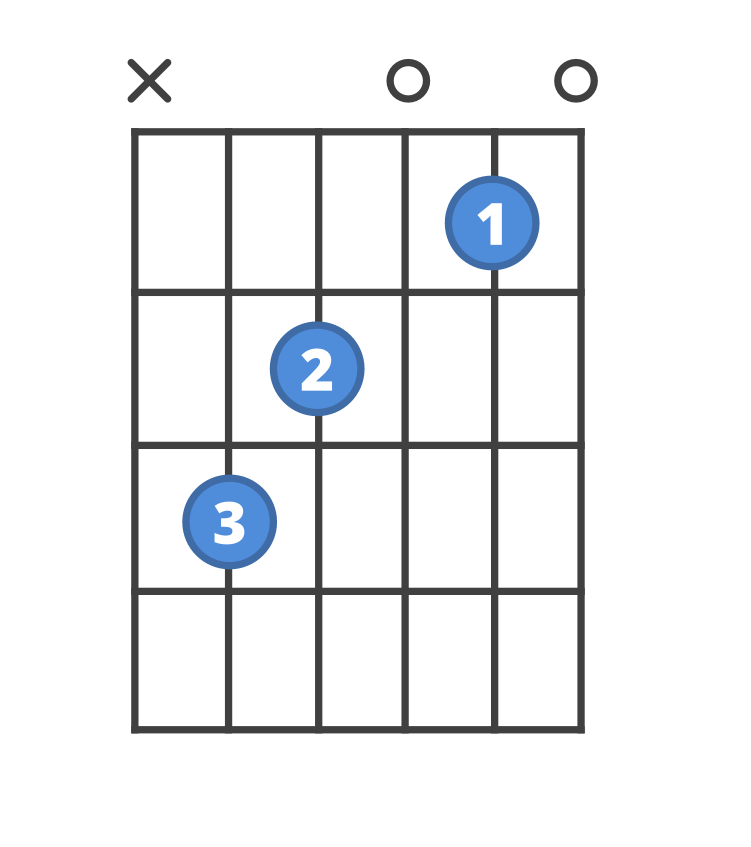
This diagram shows you:
Let’s take these one at a time.
Let’s start with the basics: what do the dots mean?
Simply put, the dots show you which finger to put where on the fretboard. The grid on a diagram shows:
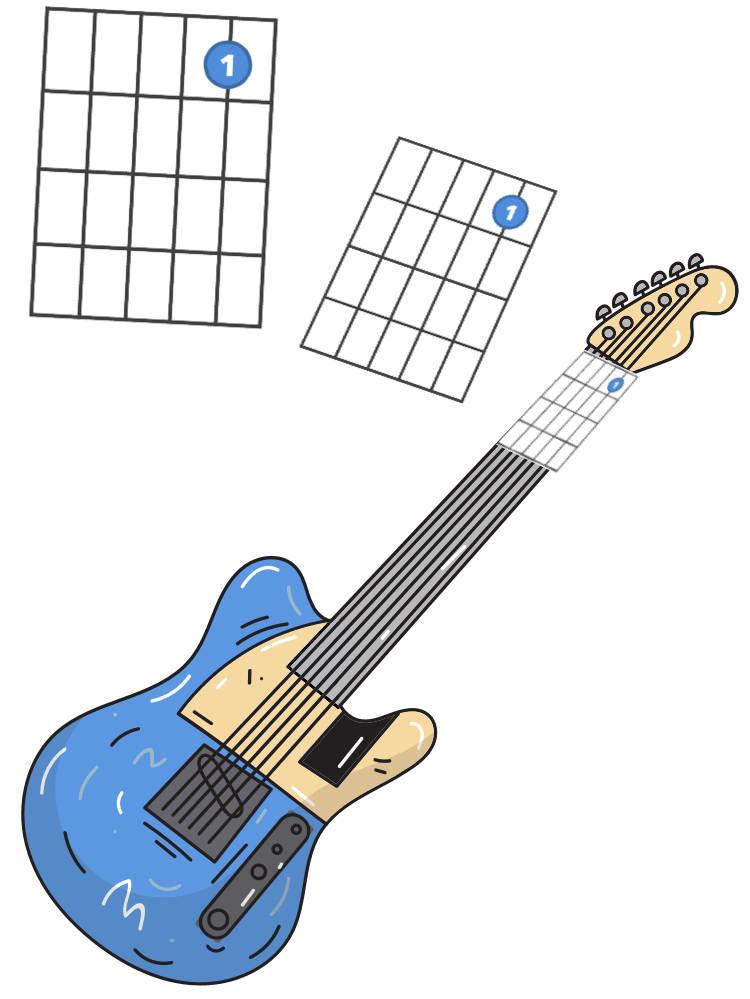
Let’s take another look at the C major chord, but take away everything but the dot with the “1” on it:
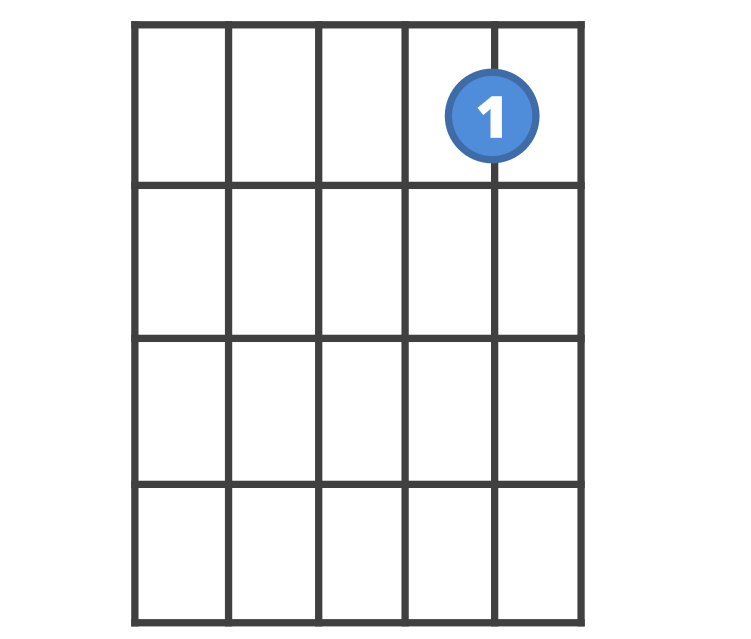
You can see that the dot with the 1 on it, that means your first finger, is supposed to be on the second string, just behind the second fret.
Let’s see what that looks like.
We rotated the guitar to match the diagram. Fancy!
Armed with that knowledge, let’s try to place the rest of our fingers.
OK, we’ve got that figured out. But what about the X’s and O’s above the strings?

This one is pretty straightforward:
Whenver you see an X above a string, just don’t play it.
Whenever you see an O above a string, it should be played “open.” Just play the string. No frets, no fingers.
Put another way: ignore the O’s. Don’t play the X’s.
In this example, after you place your fingers, you’d skip the thickest string, and play the five thinnest strings, the five strings closest to the floor.
For getting started, that’s just about it.
You learned the most important things there are to know. You learned that:
